How to use Figma for presentations
Forget about PowerPoint. Here is how to use Figma for presentations instead.
This is an old blogpost written before the launch of Figma slides.
Why use Figma for presentations?
Figma offers several advantages over PowerPoint, making it a great choice for creating visually appealing and collaborative presentations:
- Improved Collaboration and Feedback: Figma allows multiple users to simultaneously work on the same presentation and leave real-time feedback and comments.
- Enhanced Design Flexibility: With Figma, you have more control over the design elements, enabling you to create visually appealing presentations. For anyone using Figma for design, PowerPoint feels like a straitjacket.
- Interactive prototypes (and video): Figma allows you to create interactive prototypes within your presentations.
- Easy sharing and compatibility: You can easily share your Figma presentations with others without worrying about compatibility issues.
- Infinite Canvas: Move your slides around like you want on an infinite canvas.
- Observation mode: Others can follow your presentation remotely without screen-sharing.
Getting Started with Figma for Presentations
Creating Your First Slide in Figma
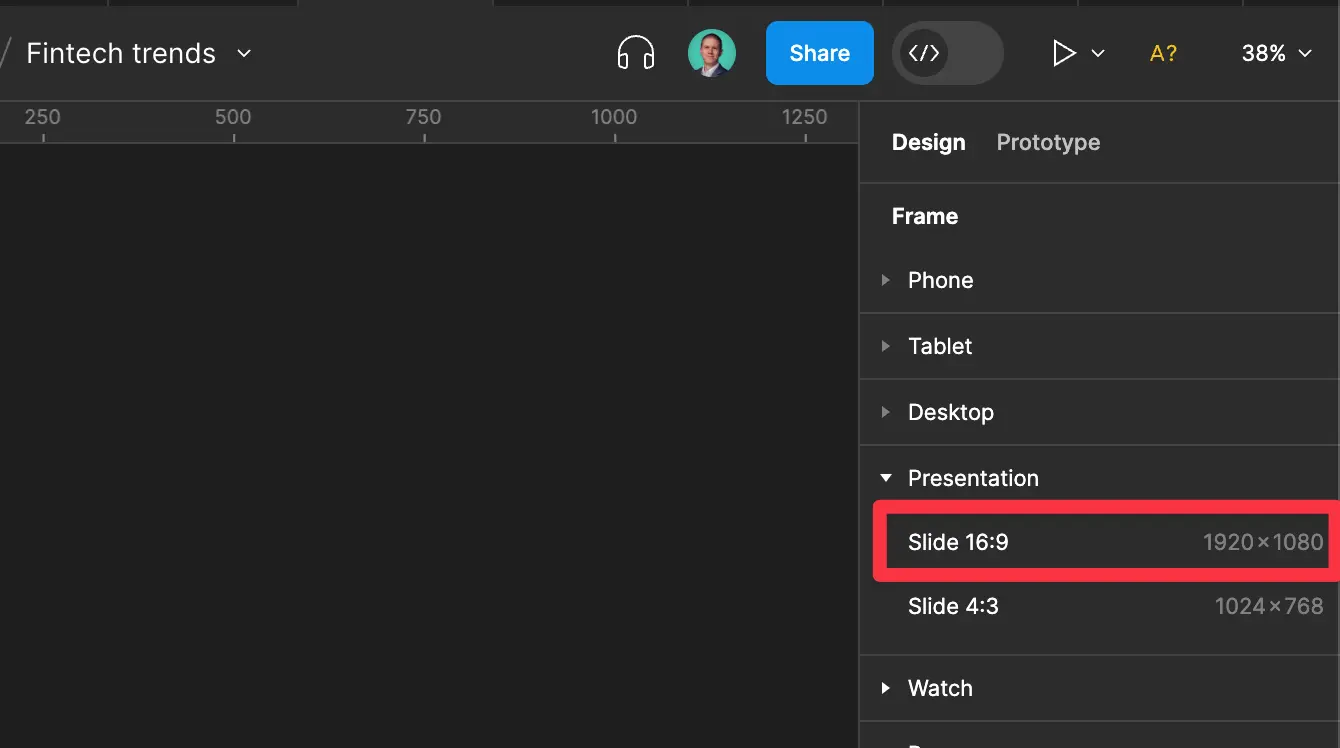
Fire up Figma and get started creating your first frame. To do that, click F and select Presentation > Slide 16:9 (on the right side of Figma) as the size of your slides. Congrats! You now have your first slide!
Organizing Presentation Frames
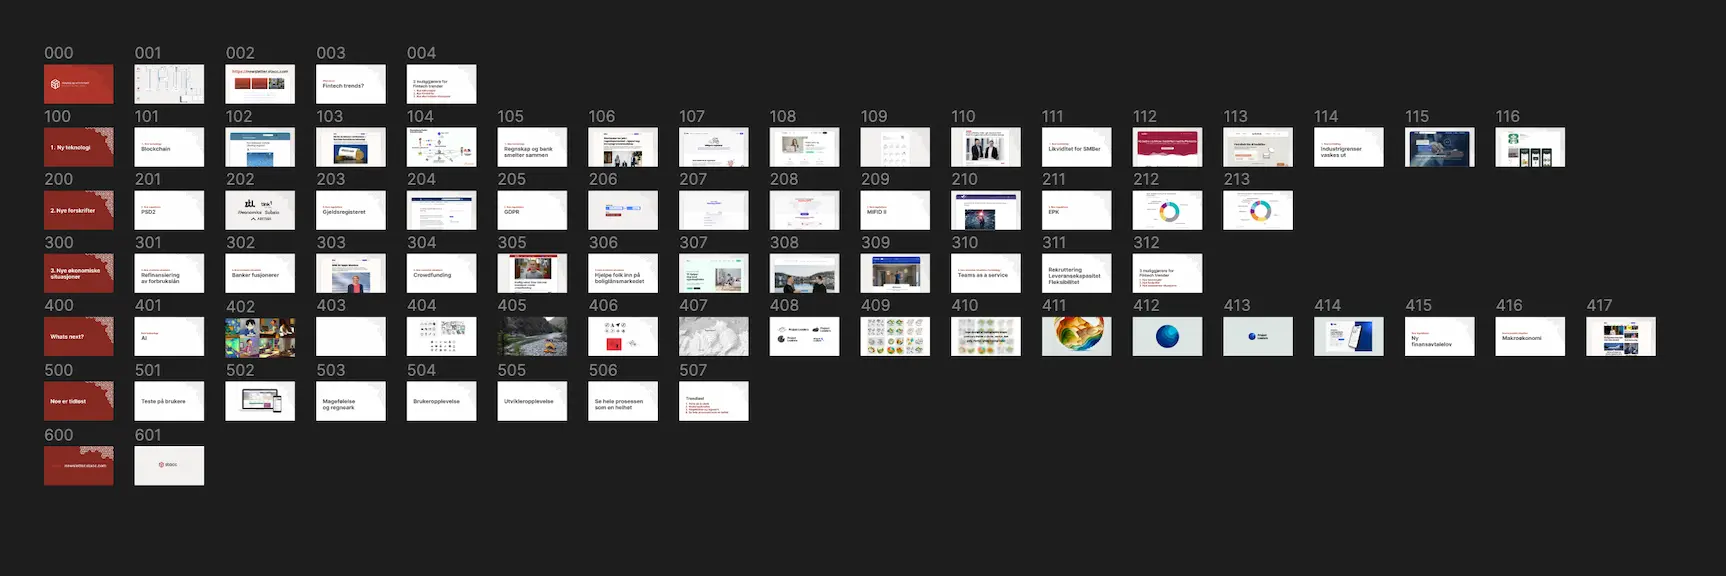
The key to working with presentations in Figma is organizing your presentation frames ordered from left to right, then top to bottom. Just like you would read a book. There is no need to create connections and flows.
Simplifying Slide Naming with Super Tidy Plugin
Pro-tip: You don’t have to waste your time giving names to your slides. Instead of manually renaming frames, I automate the process using the wonderful Super Tidy plugin when I want to clean things up. (As you can see in the above image).
Template Slides in Figma
Creating Component Templates for Reusability
Often when creating presentations, you want to reuse templates for slides. In Figma, you can create components: Create the base of each slide type, like a title slide, a section break, a top title, and a blank slide, and convert the frame to a component (⌥ ⌘ K). I like to create this on a separate page to make sure these don’t come up when I present. To use your template slides, return to your first frame and place an instance of your new component inside it.
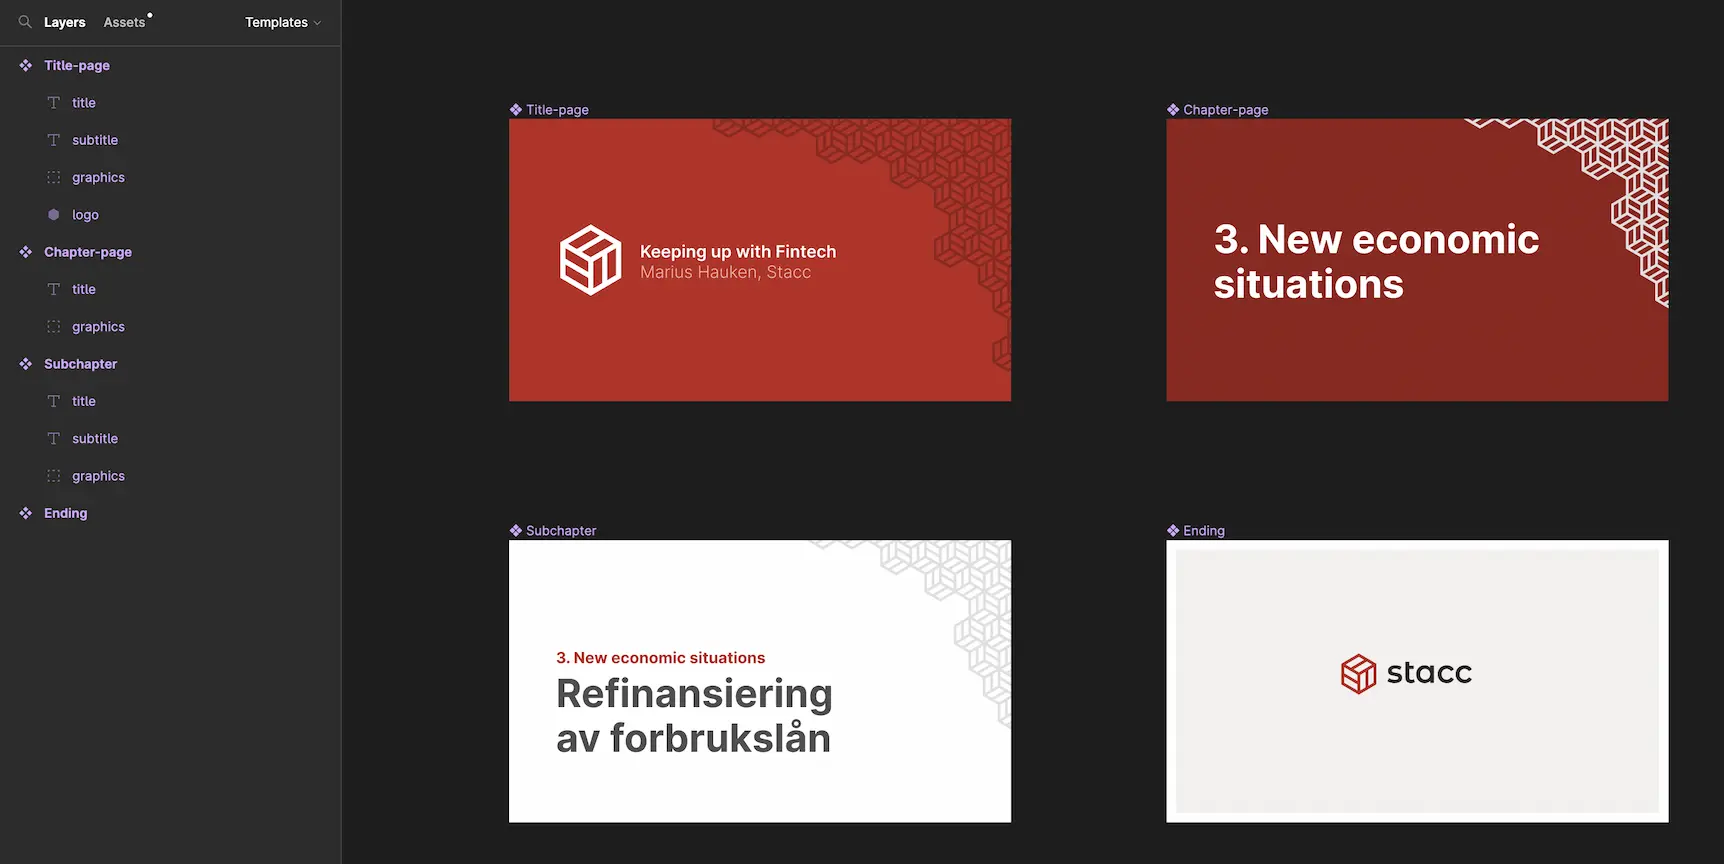
Make sure to use text component properties, or name your text layers the same across components to easily switch between templates and keep the same text.
Sharing Templates with Team Library
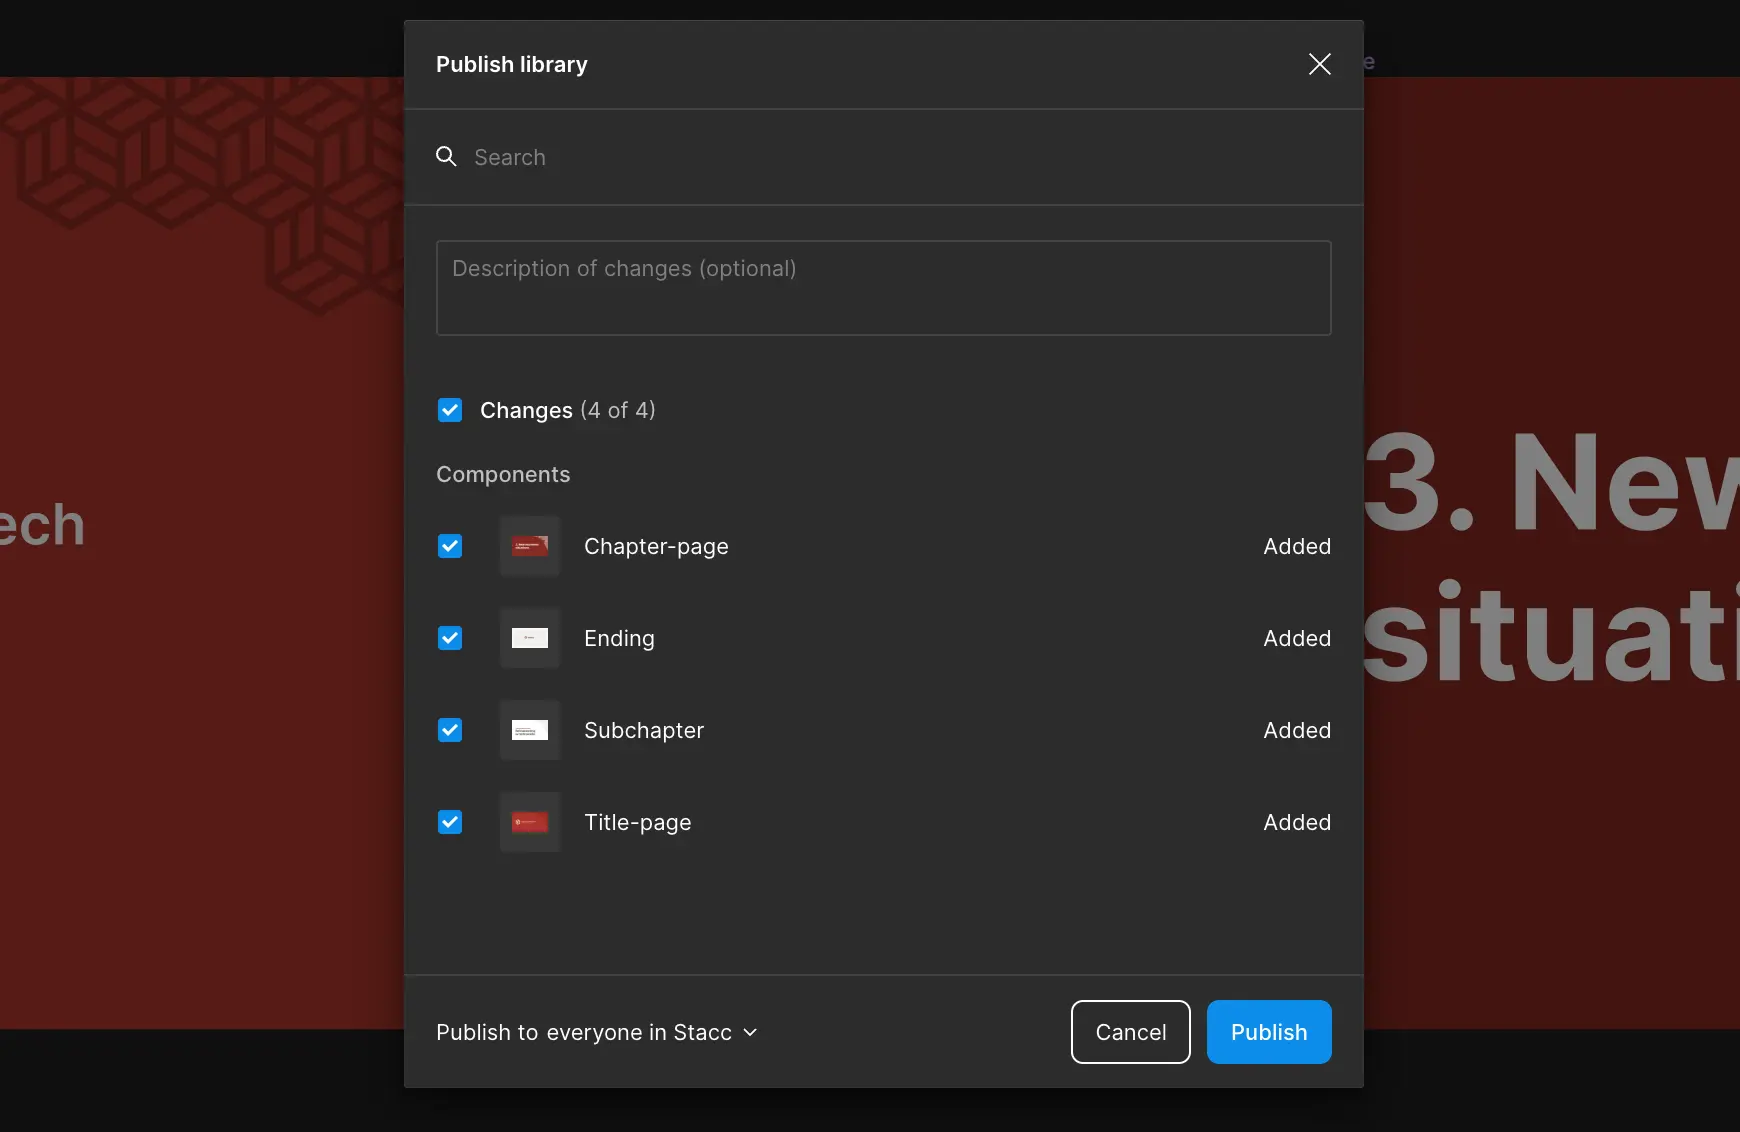
Pro tip: You can also publish your new components to your team library so that other people in your company can use your slide templates. To do this click on the title of your Figma file and select “Publish Library”. You’ll then open a Library publish dialog where you select which components you want to publish, and click “Publish”.
Reusing Fonts, Colors, and Spacing
You can also set styles for fonts and colors or variables for spacing to reuse and easily adjust choices across multiple slides.
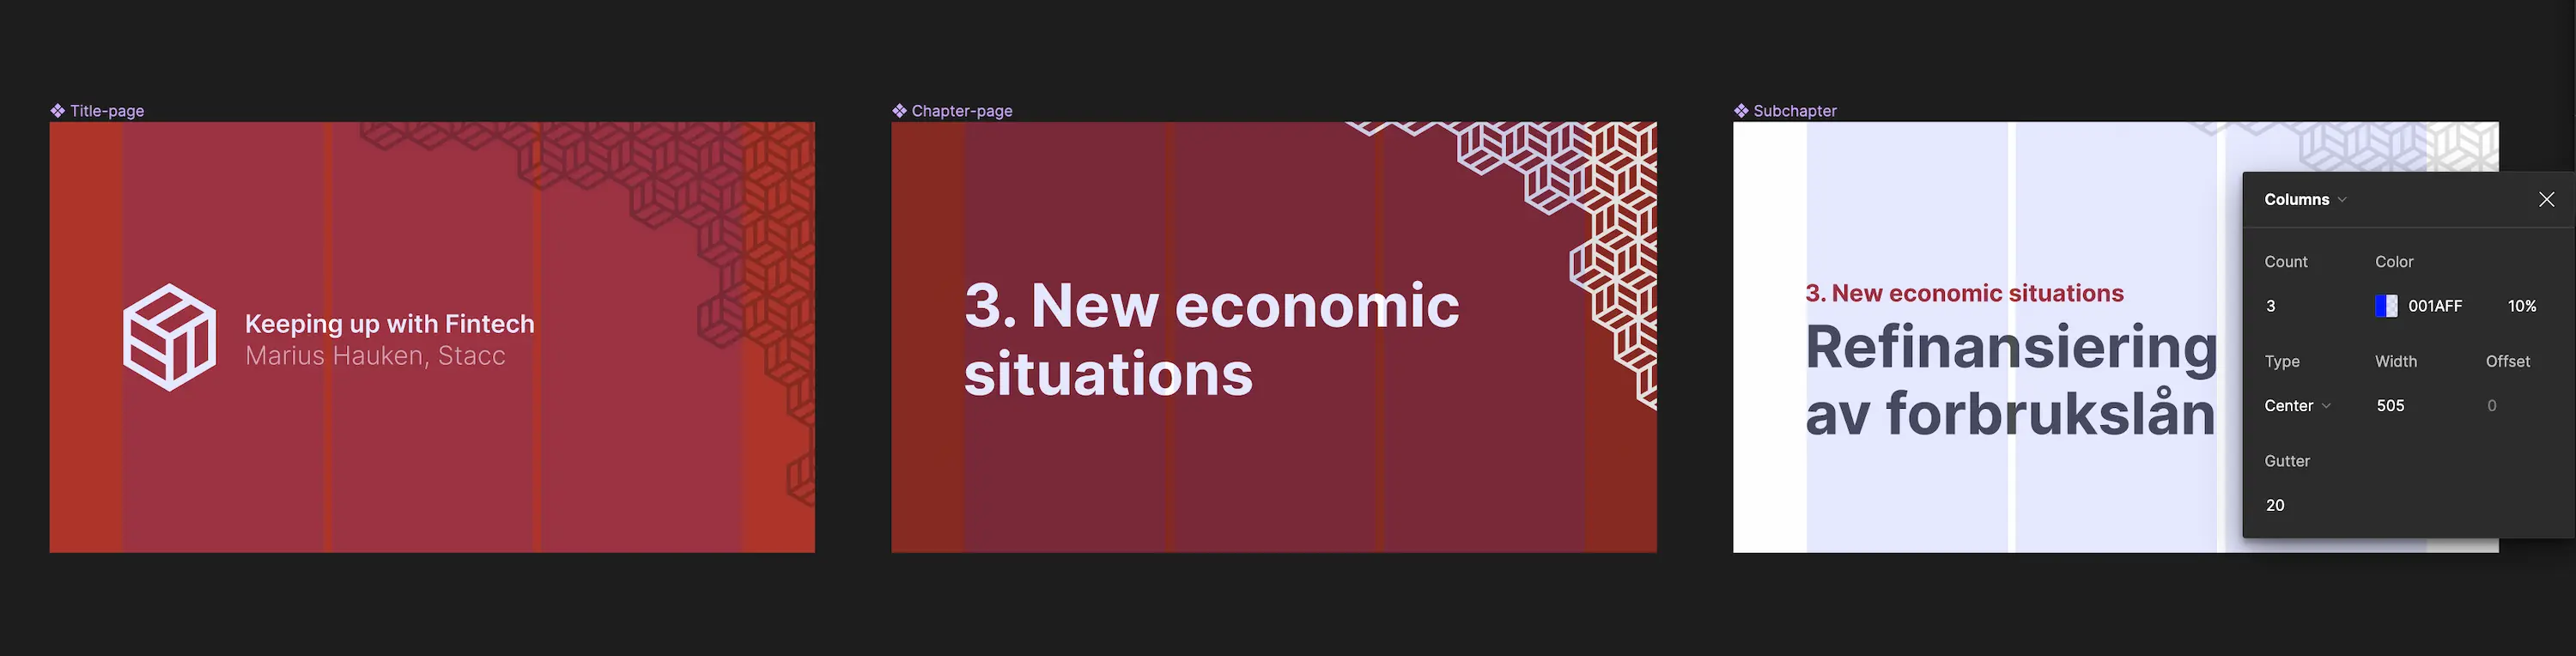
Creating Grids for a Uniform Look
Figma also has a powerful grid solution to make your presentation more consistent. Figma has an excellent walkthrough on how you can use grids on Figma Learn.
Animations and Transitions
If you want to add animations and transitions, click on the prototype panel at the right of your screen and drag one of the dots from your start slide to your next slide. Now you get a dialog of transition options. You can customize the duration, delay, and easing of each animation. Choose “smart animate” for a solution similar to Keynote “Magic Move.” Figma has a lot of great resources on how transitions work.
Sharing and Collaboration
Generating Shareable Links
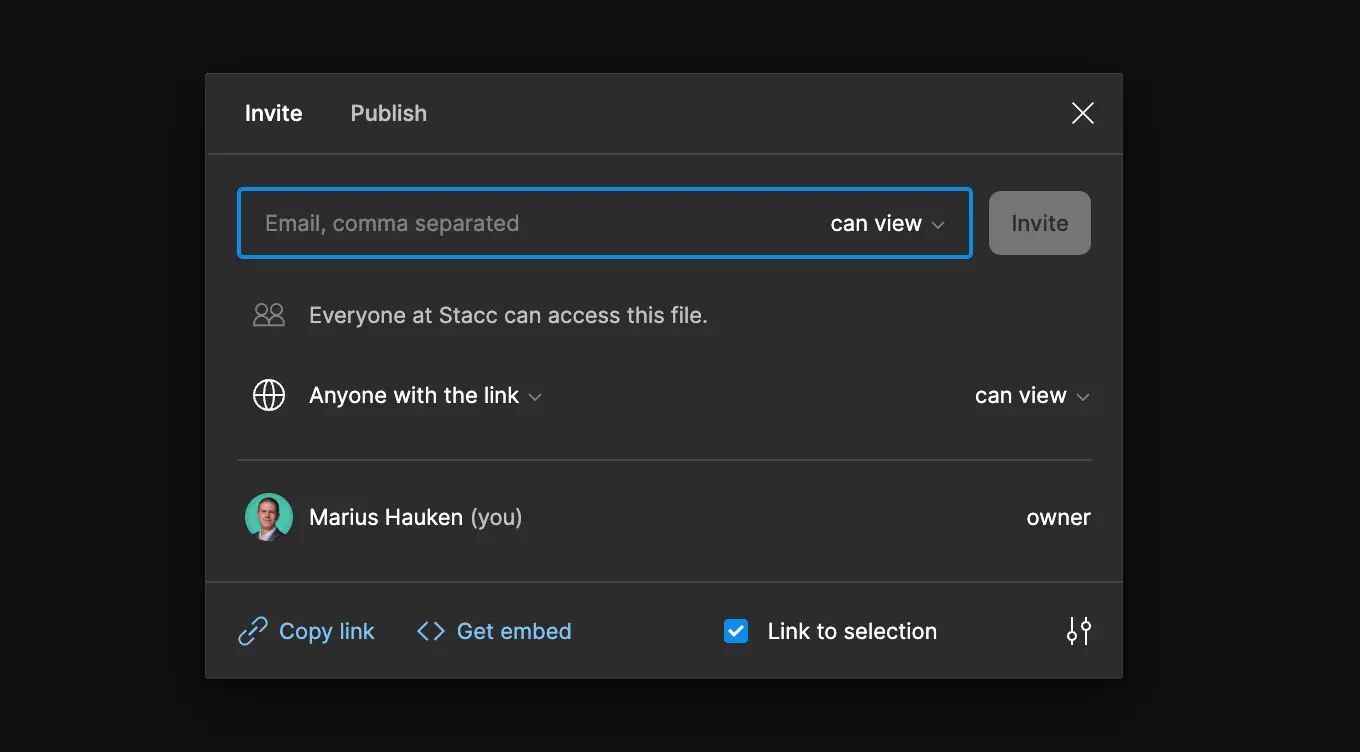
By clicking the share button in the top right corner, you can enter an email address to invite others to collaborate or generate a shareable link. You can also password-protect the file if you want.
Collaborating with Others in Real-Time
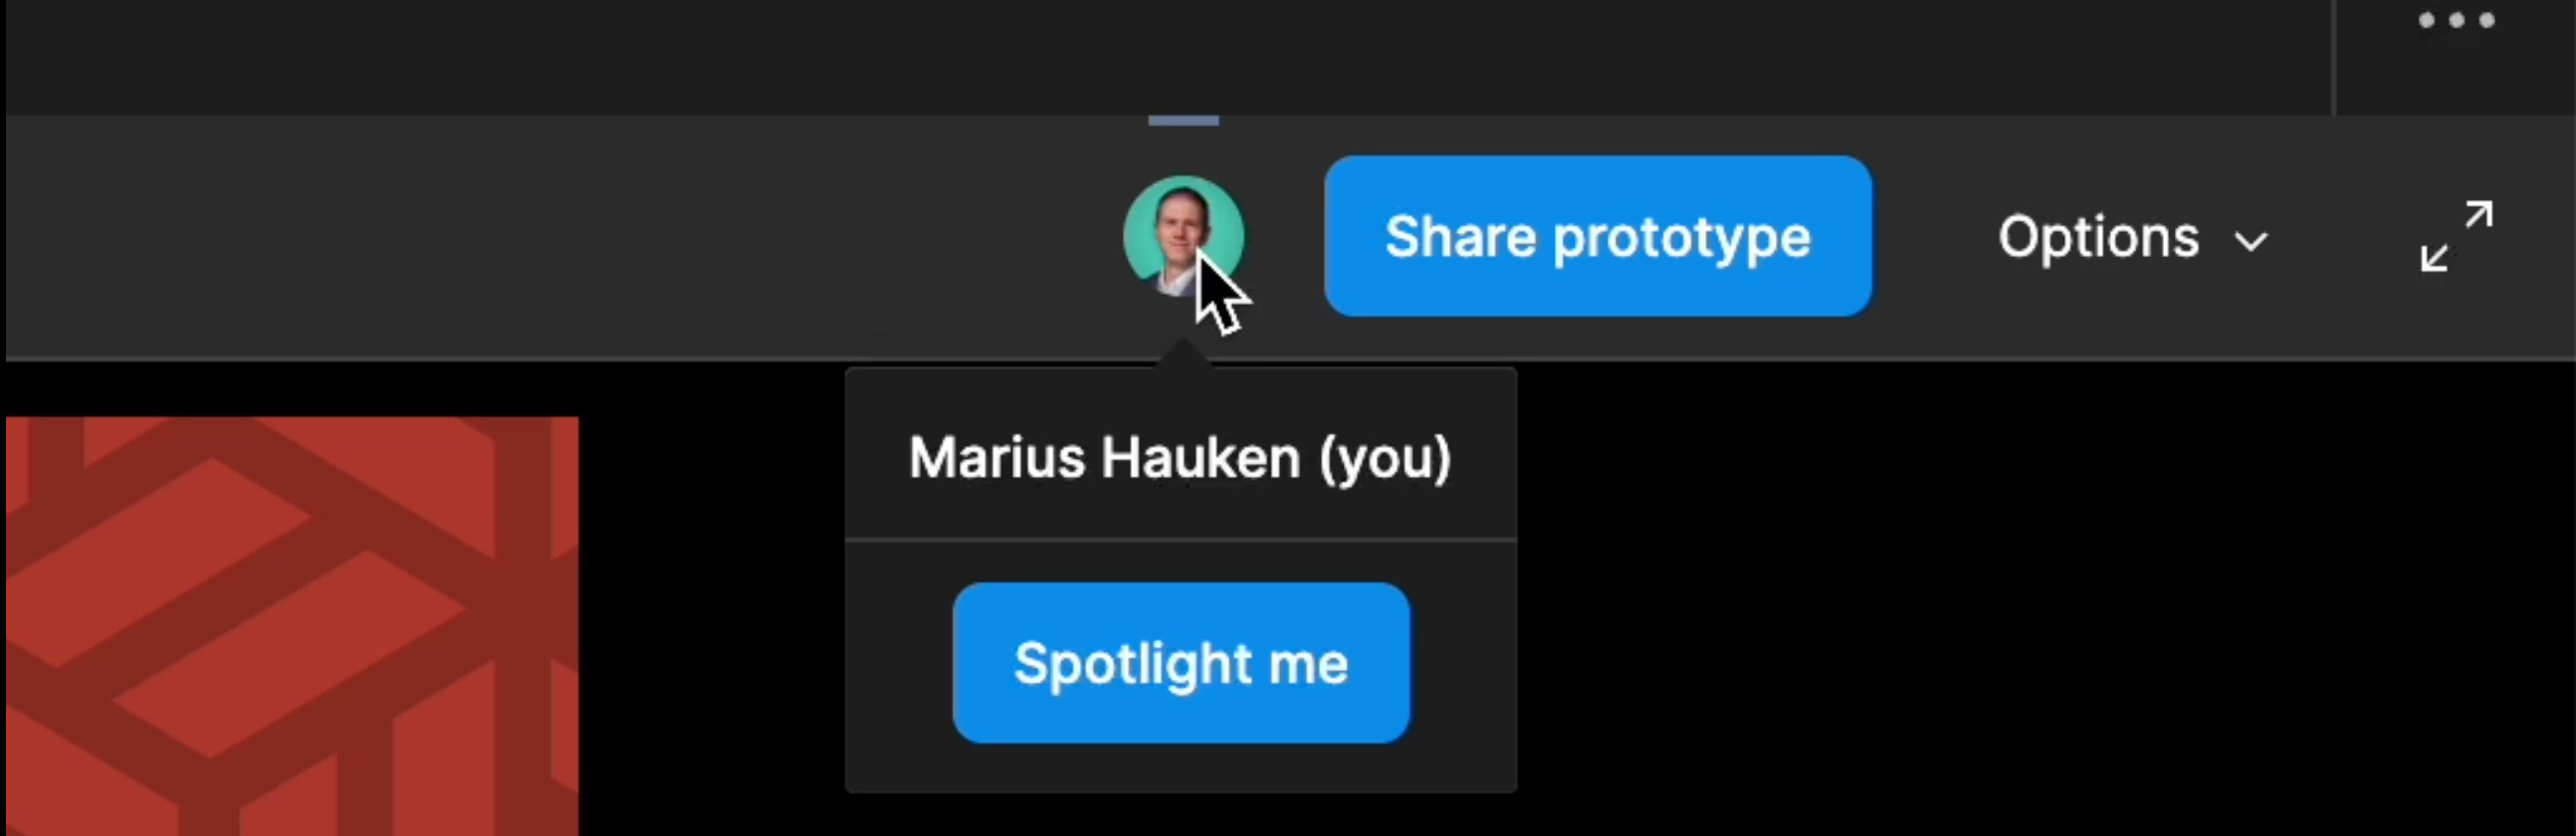
One of the greatest advantages of using Figma for presentations is collaborating with others in real-time. Multiple users can simultaneously work on the same presentation and provide real-time feedback and comments. If you want to see another collaborator’s current view, you can click on their avatar in the top-right corner to follow them. You could also hover your own avatar and click “Spotlight me” to force all the other users follow you.

Using Comments and Feedback
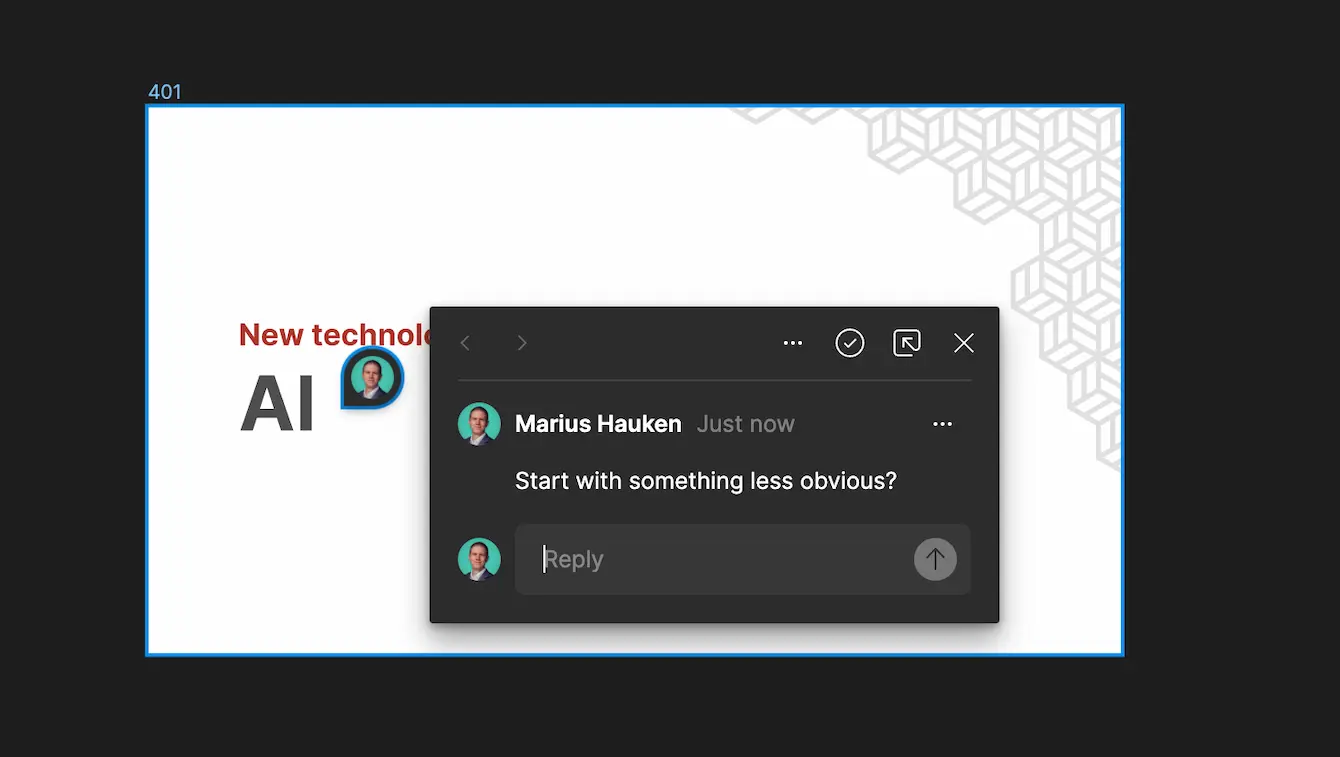
Within Figma, you can leave comments and feedback on specific presentation elements. This allows for clearer communication and easier collaboration. You can easily resolve comments and keep track of the changes made based on the feedback received. To do this, click on C (or the comment symbol) and add comments on relevant places. You can always see the comments and threads in the right column when you are in the comments view.
Version History and Design Iterations
Figma also provides a version history feature, allowing you to view and restore previous presentation versions. This is helpful when you need to revisit an earlier design. To do this, click on the title of your Figma file (top middle of your screen) and select “Show version history.” You’ll get a timeline in the right column showing all your file changes. Click on any of them to rewind your project.
Presenting Your Figma File
Preparing a Figma File for Presentations
To prepare your Figma file for a presentation, all you have to do is to open the prototype panel and select “Presentation” under “device.” (you could also add &hide-ui=1 to the end of the URL if you want to hide the UI completely when embedding or sharing a presentation link)
Taking Advantage of Fullscreen and Figma UI Options
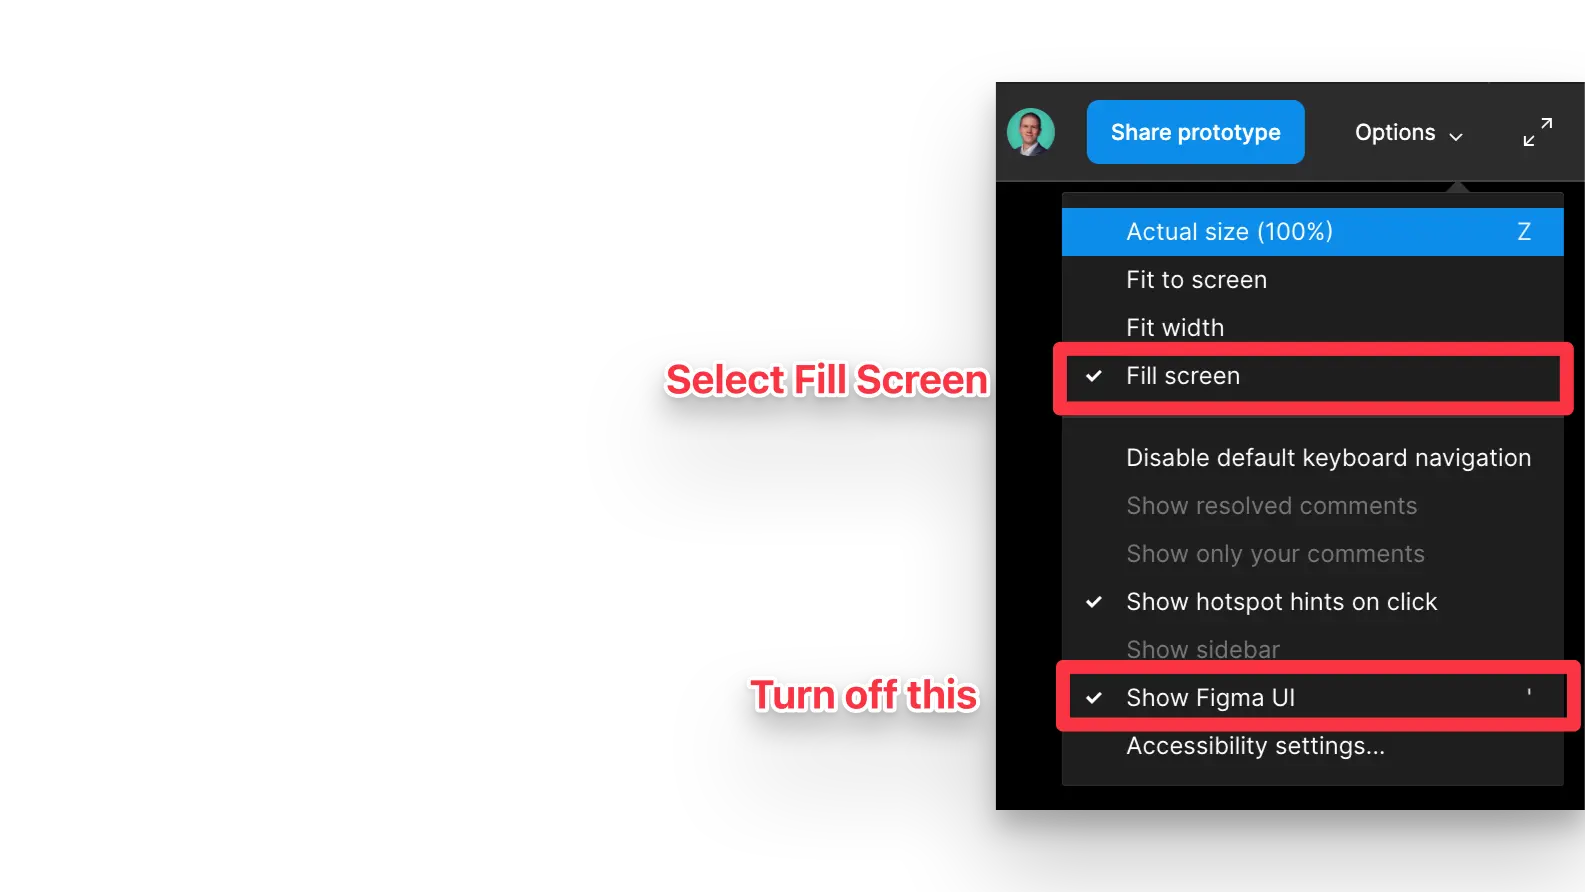
When you will present, click the play icon in the top right corner of Figma. This will open your presentation in prototype mmode. You can then click the expand icon in the top right corner to make it fullscreen and select options > Fill screen and make sure options > Show Figma UI is unchecked. If your slide seems weird you can click Z to switch between all the different view states.
Presenting remotely
If you are presenting remotely you could enter prototype mode (by pressing play), and click “Share prototype” and send the link to others. When you are starting to present you can click your own avatar and “Spotlight me”, and this way force the other spectators to follow you during your presentation.
Sharing presentations
Exporting Slides as PDF
Export your slides as a single PDF by going to File > Export frames to PDF. Figma will then generate a PDF with every Frame on the page you are currently on. Your pdf will follow the same order as your slides in presentation mode: left-to-right, top-to-bottom. Note that these files can sometimes become huge depending on your presentations. I’ve found ilovepdf great at compressing these into a manageable file size.
Embedding Presentations on Websites and Social Media
Another useful feature is the ability to embed your presentation. This is great for showcasing your presentations on your website or sharing them on social media. Check out the Embedding article in the Figma Help Center to learn how to embed your Figma files. Rember to share your prototype (Click “share prototype” after pressing the play button), and not your regular file. Here is an example of how an embedded presentation look out of the box:
